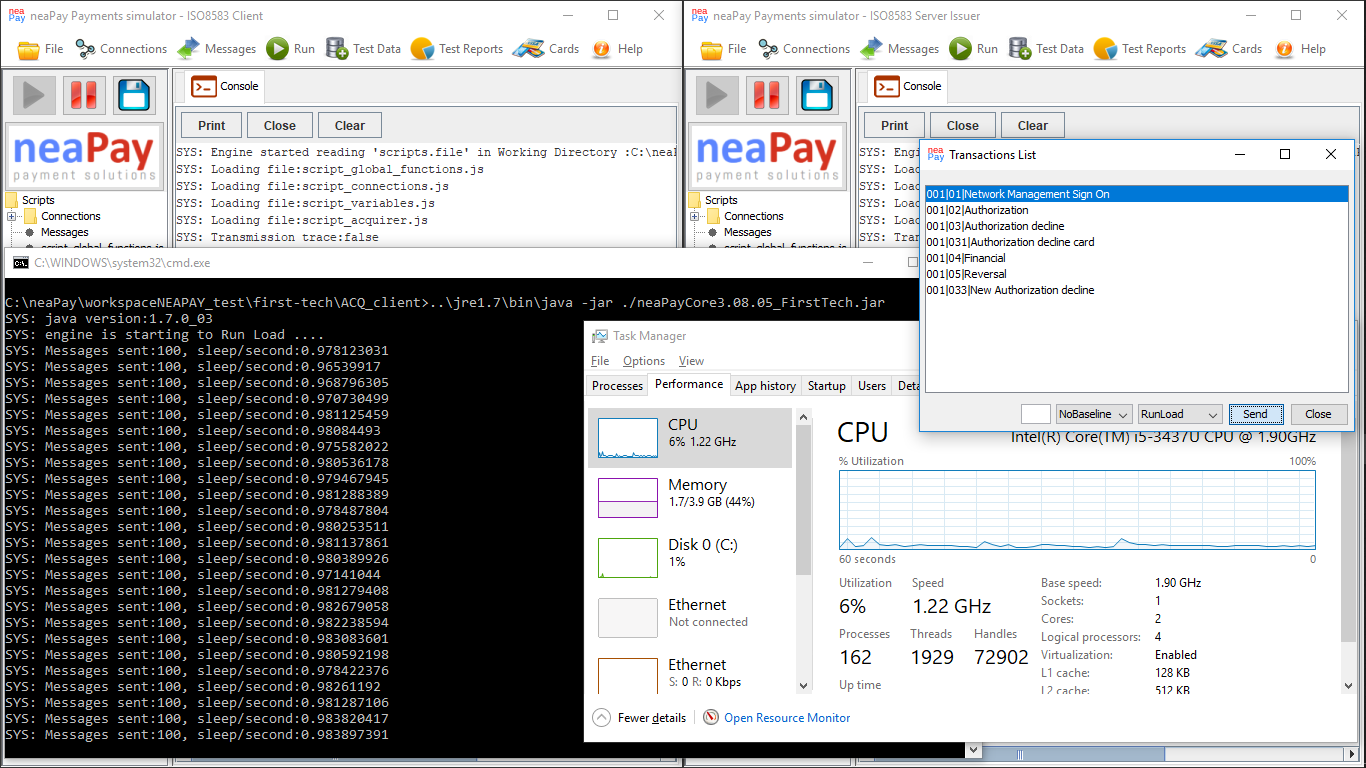
Everything is working fine in the test mode, with an Acquirer and a bank Host both simulated by neaPay. You want to connect your Acquirer simulator to your own Host system?
Just follow these simple steps to change connectivity settings and make an acquirer become a host.
Editing connections File
Reccomended, it is the only way for CICD, Version Control and Headless OS(like CentOS)
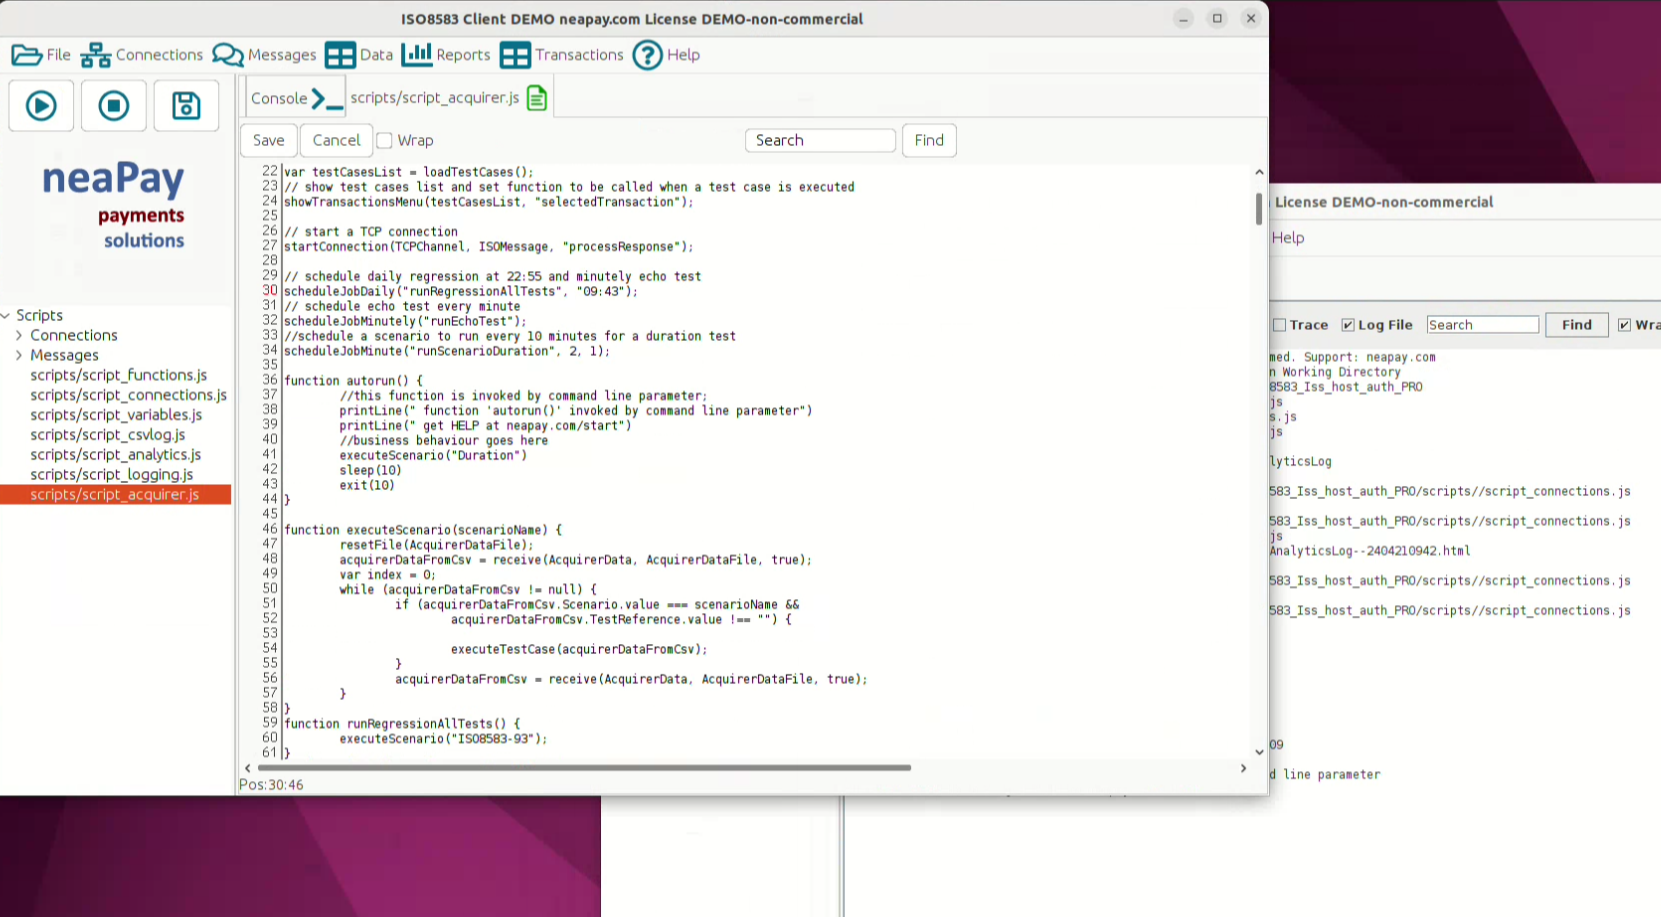
Edit script_connections.js
for connection TCPChannel, alter the IP and port as needed.
var TCPChannel={name:"TCPChannel",type:"TCP/IP",data_type:"ascii",ip:"localhost",port:"9009",connection:"client"};
Editing connections via the User Interface
(if user interface is enabled)
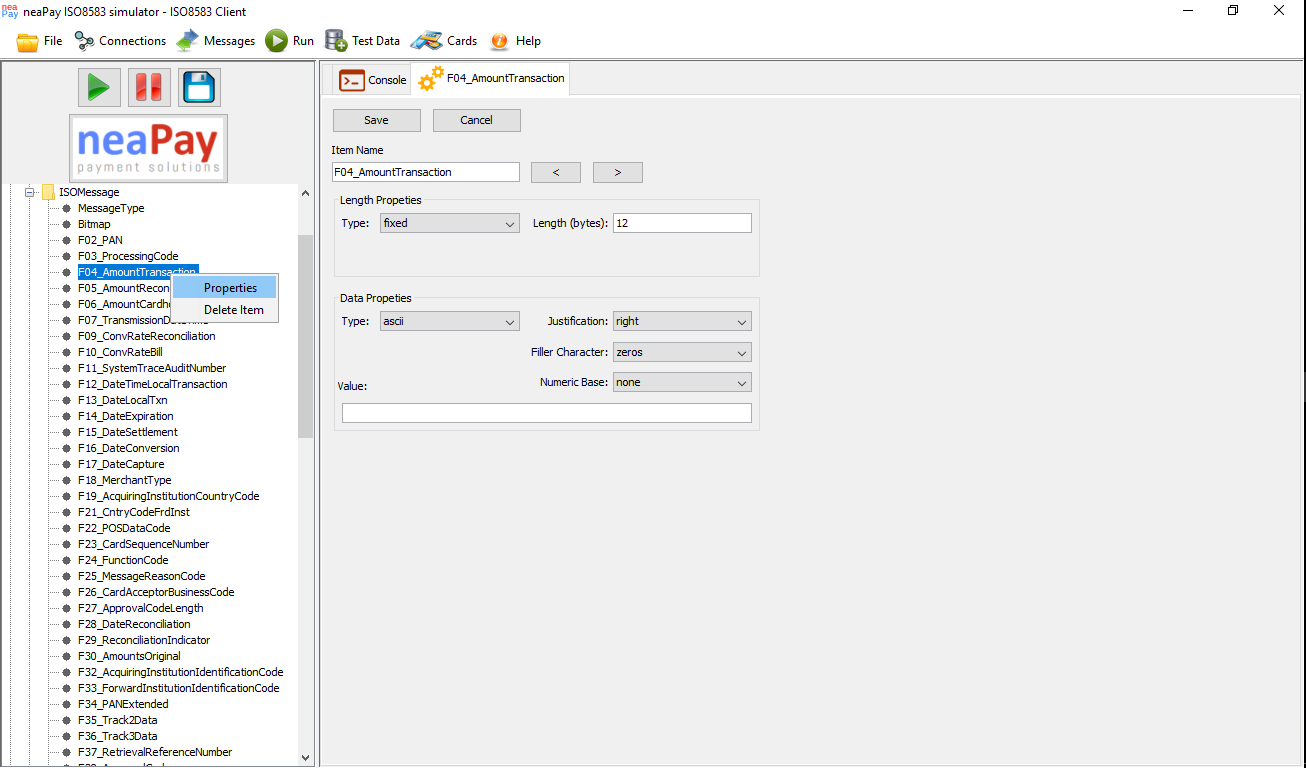
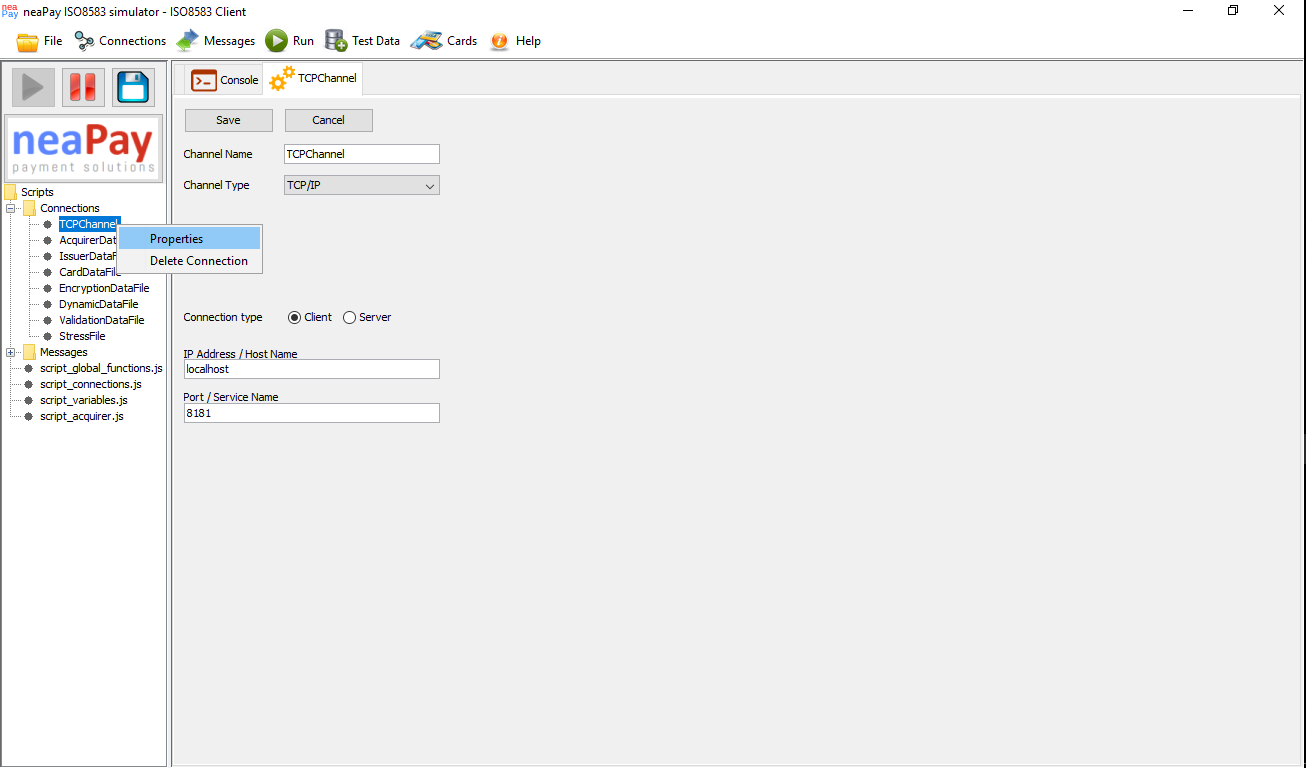
- Open the neaPay ISO8583 simulator UI and navigate, on the left menu or the top menu, to Connections. Expand.
- Open TCPChannel connection (on the left tree right-click and select Properties)
- A new window opens, Connection settings UI, for connection TCPChannel.
- Change IP address to you host server's IP.
- Change Port to the port number that is used by your host interface.
- Press the Save button on the window to save to UI memory. This will not make it available at execution time.
- Press the Save to disk button on the left menu (Blue floppy disk) to make the changes permanent for the Core to use.
- Press Start to start your simulator with the new settings.
- Check the Console about the connection status. if it says SYS:ERR: Connect Exception:localhost:8181 you have not changed it.
- A success message will be SYS: Client listener started on port:8181
Congratulations! you are now connected to your own host for testing! Try a transaction!
Thank you for following this article! Please leave us a note below if something is wrong or unclear, we will review and change it asap!