Run your ISO8583 simulator from neaPay in 3 steps
Start server; > Start client; > Run Transaction; > Check results
It is assumed your simulator has the following setup on disk:
C:/neaPaySimulator/simulator_ISSUER_ISO8583_host_auth_PRO
C:/neaPaySimulator/simulator_ACQUIRER_ISO8583_client_PRO
C:/neaPaySimulator/jre1.8 (this is optional, only if your system JRE is not Java 8)
Running transactions with the neaPay ISO8583 simulator is easy:
1. Go to the deployment folder where you have unpacked your simulator and make sure you have "simulator_ISSUER_ISO8583_host_auth_PRO" and "simulator_ACQUIRER_ISO8583_client_PRO" next to each.
If you have another system JRE, then the jre1.8 folder folder must be next to them to execute.
2. Go into folder "simulator_ISSUER_ISO8583_host_auth_PRO" and run start_neaPay_Win.bat or start_neaPay_Win_jre8.bat (if you jave jre1.8 in a the optional folder above).
For MAC and Linux use start_neaPay.sh. A new window called ISO8583 Server Issuer will start.
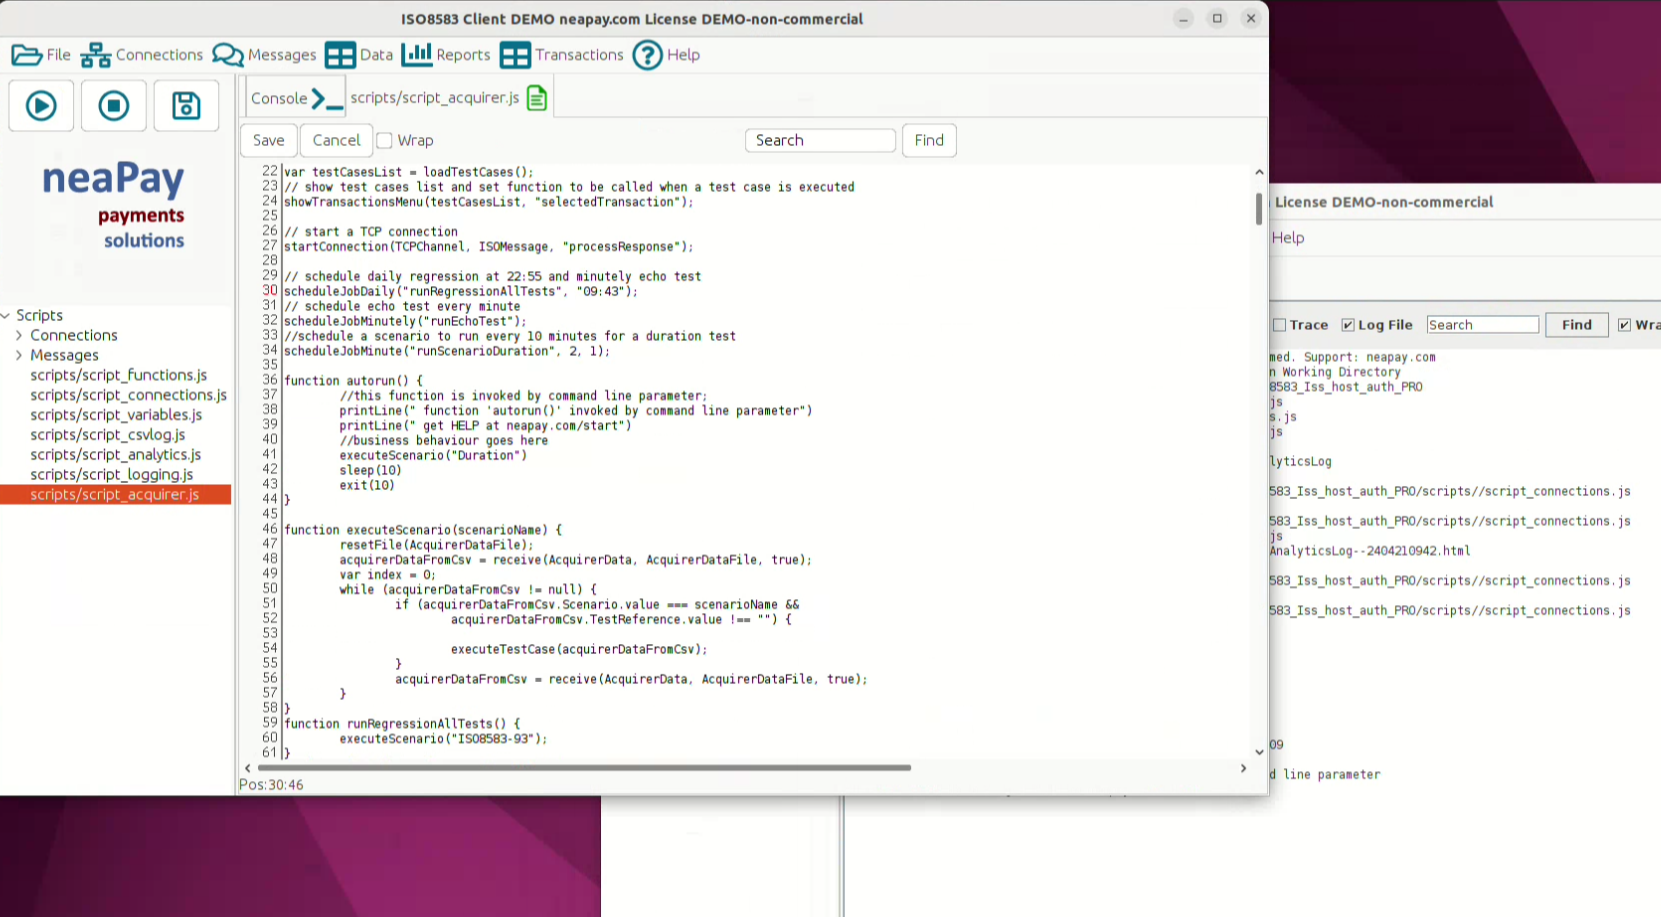
3. Press the Start button at the top left of the simulator (Play button) and wait until the Console shows a message ISS: Issuer starting, TCP Server starting. Your Issuer simulator has started.
4. Go into folder "simulator_ACQUIRER_ISO8583_client_PRO" and run start_neaPay_Win.bat or start_neaPay_Win_jre8.bat (if you jave jre1.8 in a the optional folder above).
For MAC and Linux use start_neaPay.sh. A new window called ISO8583 Client will start.
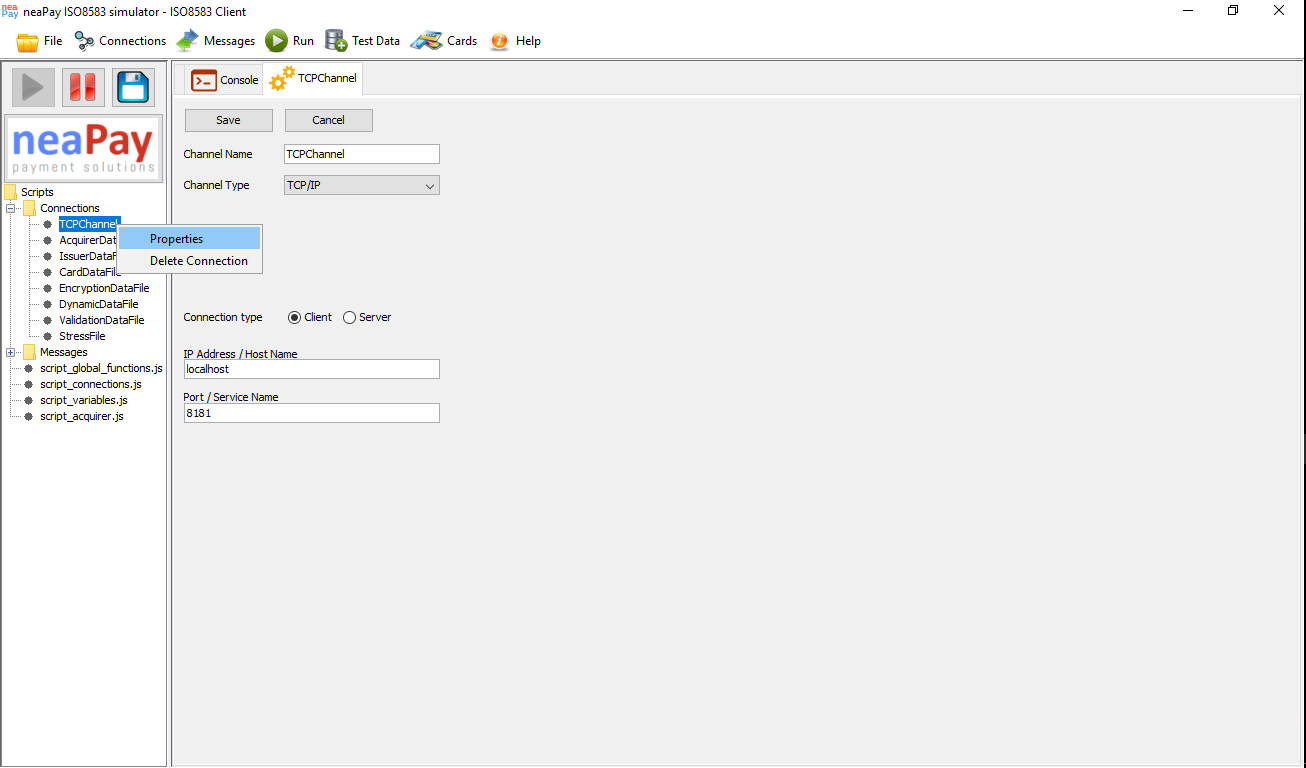
5. Press the Start button at the top left and check the Console messages about a successful connection to the server
SYS: Client listener started on port:9000
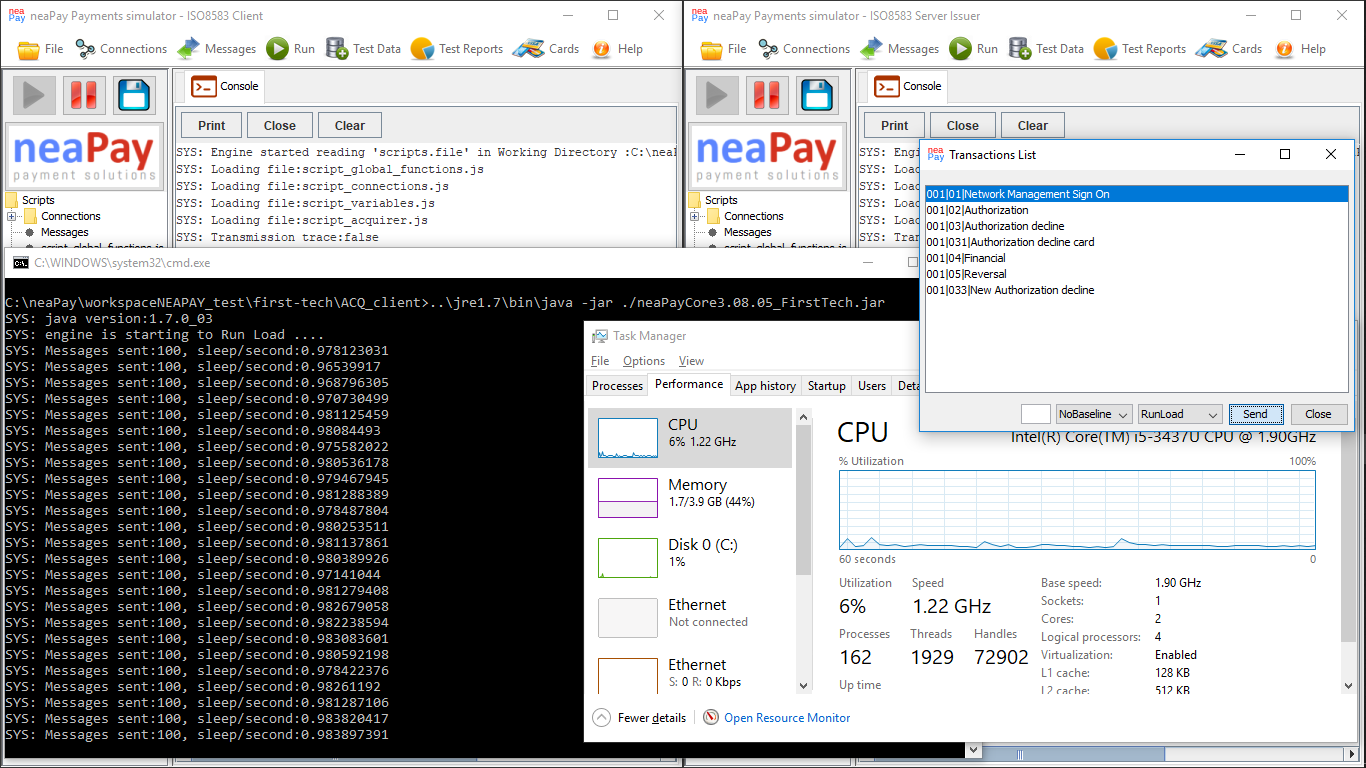
Check that the "Transactions List" window has opened.
6. Check the Issuer (Server) simulator that it has accepted the connection
"Server socket accepted on port 9000"
7. Select a transaction from Acquirer simulator Transactions List and click the Send button.
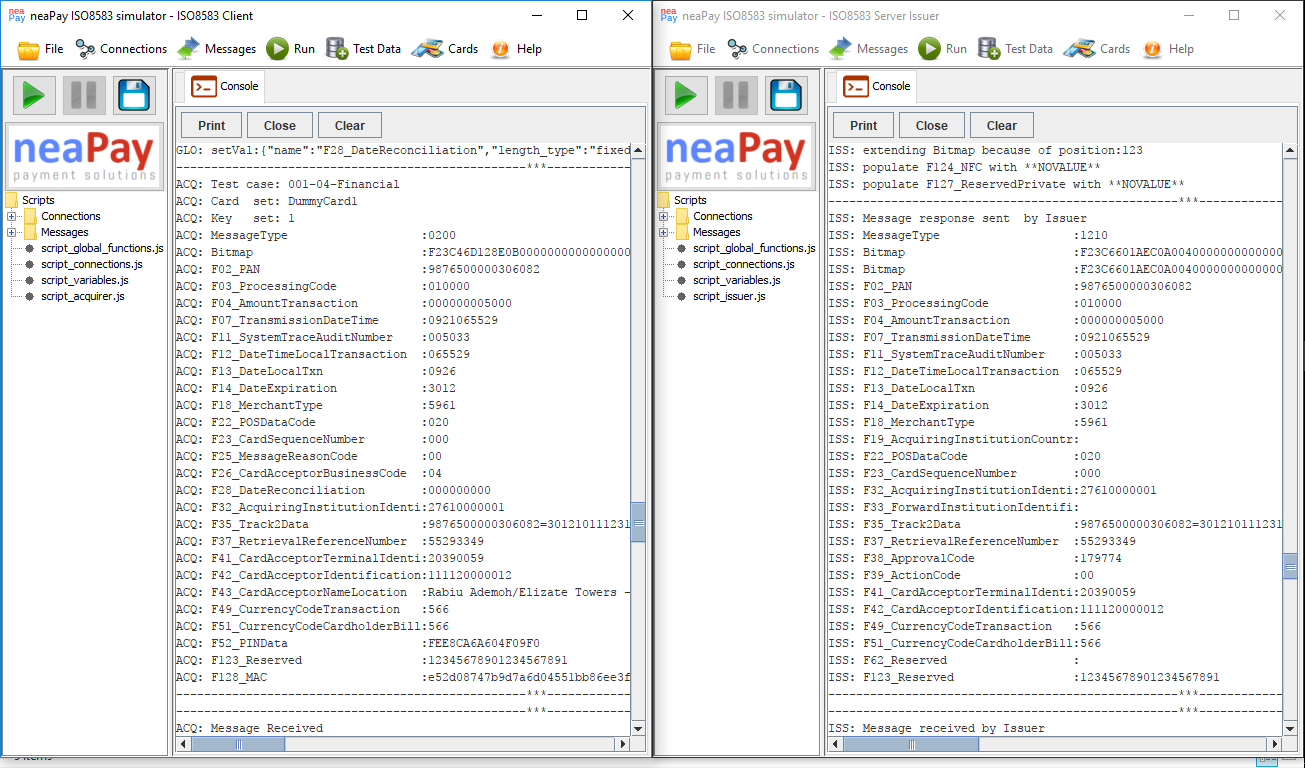
8. Check the Acquirer Console that an ISO8583 message has been built and sent to the server.
Enable traces if you encounter issues: https://neapay.com/post/enable-traces-iso8583-simulator_25.html
9. Check the Issuer that it has parsed the message successfully and built a response.
10. Check the Acquirer that it has received the response.
11. Check the Acquirer test case results: ACQ: ************************** TEST PASS ************************** ACQ: RC Received:00 RC Expected:00 ACQ: Tests Executed:1 ACQ: Tests Passed :1 ACQ: Tests Failed :0
Congratulations! You have successfully simulated your first transaction!
neapay iso8583 simulator demo in under a minute (video)
Check the more detailed demo video below with the new version 2020/2021:
Also the Video of the olde version before 2020