Deploy the neaPay HSM simulator in a test environment
Posted on 16th Dec 2019 6799 views
When you receive a delivery from neaPay for an HSM simulator, you will get 1 zip file.
This step by step guide will guide you through the deployment process, which is as simple as using the software.
In brief: 1:use/deploy java 7; 2:unpack delivered simulator; 3:start server; 4: start client; 5:run transaction
Download package for any system: neapay HSM Simulator
Deploy to Windows
Download package with java, ready to run
Download package with java, for windows
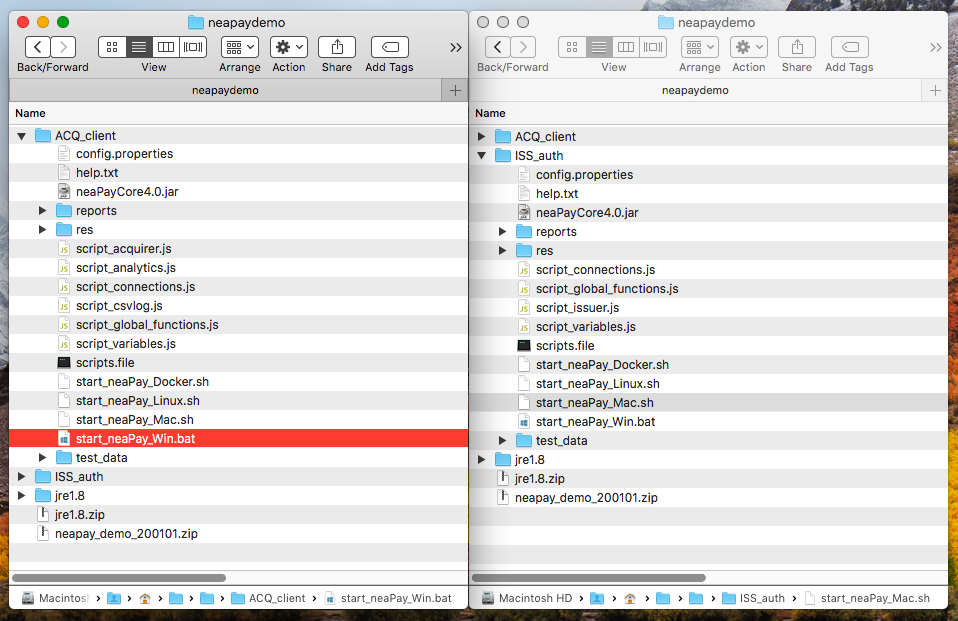
Unpack the archive to a folder of your choice. You will have a structure like this:
E.g. C:/neaPayHSMSimulator/jre1.8
E.g. C:/neaPayHSMSimulator/sim_HSM_commander
E.g. C:/neaPayHSMSimulator/sim_HSM_HOST
you are ready to run
Download only package and install java
Download the package for any system.
Windows 10: Open the search box (press Win⊞ + S, type About Java, and hit Enter. If nothing comes up, please install the latest Java version.
Alternatively, open a command prompt window (press Win⊞ + R, type cmd, and hit Enter) and enter the command: java -version. This will output the version of Java installed on your computer. If the command is not recognized, please install the latest Java version.
Deploy to Mac
Download package
Download the package for any system.
Unpack to a location of your choice
please install the latest Java version.
Deploy to Linux
Download the package for any system.
Unpack to a location of your choice
please install the latest Java version.
Run the simulator
3. Start Issuer
Go into folder ISS_auth and run start_neaPay_Win.bat. For MAC and Linux use start_neaPay_Mac.sh and start_neaPay_Linux.sh .
Press the Start button at the top left and it will show a message that it is waiting for a connection. That means it has started .
4 Start Acquirer
Go into folder ACQ_client and run start_neaPay_Win.bat. For MAC and Linux use start_neaPay_Mac.sh and start_neaPay_Linux.sh .
Press the Start button at the top left and it will show messages of files being loaded, and a message that it had connected the Issuer on port 8181.
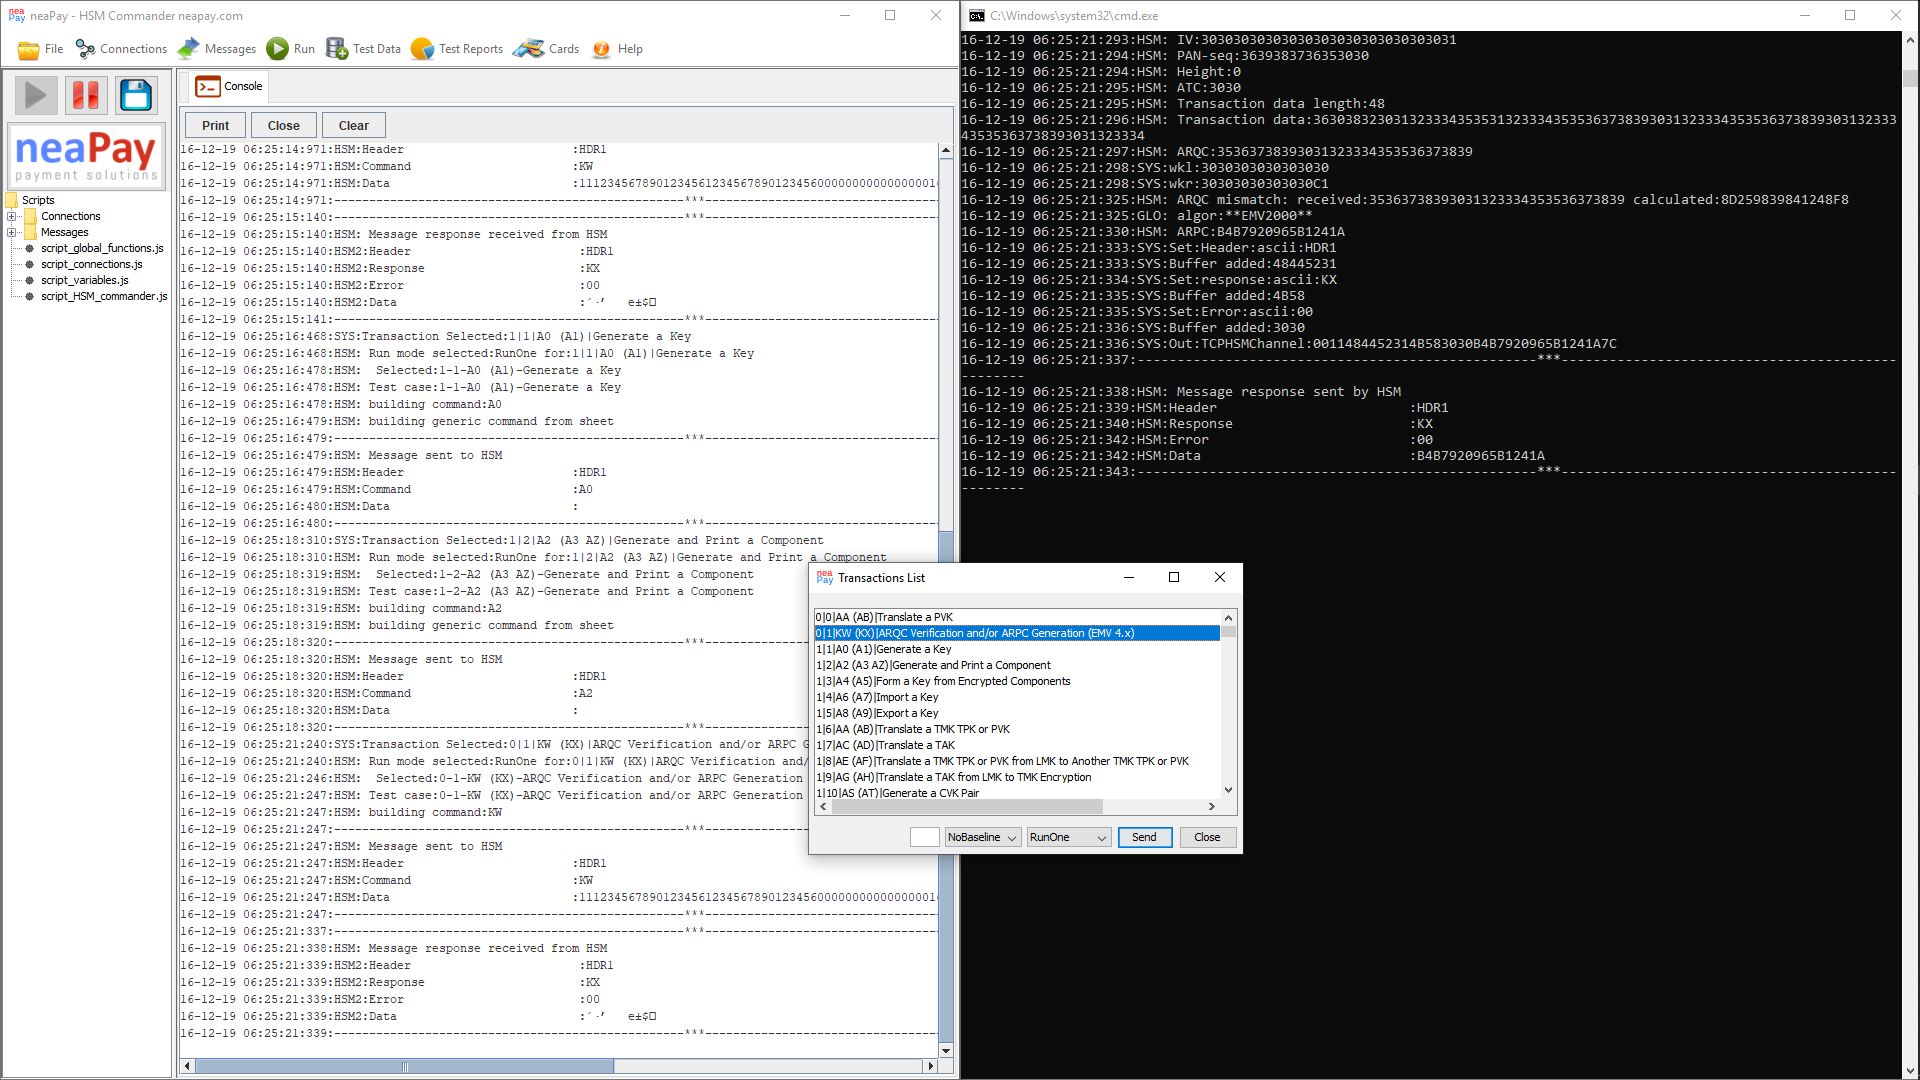
5. Run a test case
A new window will open automatically, the "Transactions List", which contains the test cases.
Select a test case (first one) and click "Send". You should see in the console, a request and response message to the Issuer.
7. Check result
You should see TEST PASS in the test results, in the console. In this case, congratulations, your simulator is working!
If any of the steps above is unclear or did not work, write us back for help!
Your Structure on disk should look like this (for local java).
Deployment instructions for Docker - no GUI, just server
1. Install Docker.
Use this URL, https://docs.docker.com/install/
choose your operating system and install;
2. Unpack
Unpack “neaPay_demo_delivery_******.zip” to the same folder where folder jre1.8 was created.
E.g. C:/neaPayHSMSimulator/sim_HSM_HOST
3. Build and start Server
Go into folder ISS_auth and run
start_neaPay_Docker.sh
the start script will automatically stop existing container, build a new container from existing delivery, and run the new container.
4. check logs
docker logs neapayserver

Deployment instructions for JAVA 7
1. Deploy java 1.7 runtime environment to your system and use it as default. Java SE 7 Archive Downloads.
Alternatively, if you cannot do that, download jre1.7 from our website as a zip https://neapay.com/delivery/jre1.7.zip. In this case, unpack jre1.7.zip to the folder where the simulator will be deployed. E.g. C:/neaPaySimulator/jre1.7
For Mac use this link to download the jre1.7 from our website: https://neapay.com/delivery/jre-7u80-macosx-x64.tar.gz
2. Stop previous instances of the ISO8583 simulator.
3. If the received archive has an extension of *.zip.neaPay, rename the file and remove the .neaPay extension, so the extension will be .zip. (E.g. rename neaPay_demo_delivery.zip.neaPay to neaPay_demo_delivery.zip)
4. Unpack “neaPay_demo_delivery.zip” to the same folder where folder jre1.7 was created.
5. Go into folder ISS_auth and run start_neaPay.bat. For MAC and Linux use start_neaPay.sh. Press the Start button at the top and it will show a message that it is waiting for a connection. That means it has started .
6. Go into folder ACQ_client and run start_neaPay.bat. Press the Start button at the top and it will show messages of files being loaded, and then a transaction window name "Transactions List".
7. Congratulations, your simulator is working! Write in the contact form below if it is not and you need help!
Thank you for following this article! Please leave us a note below if something is wrong or unclear, we will review and change it asap!