Create a new test case in the neaPay ISO8583 simulator Video guide
Posted on 29th May 2013 9094 views
You have successfully run demo transactions, it is time to make your own test cases.
In order to obtain this, you need to alter test data in Excel, save your new test data, export for the simulator, restart simulator with new test cases.
Altering or creating test cases with the neaPay ISO8583 simulator is really easy.
You will just edit an excel file. See below how.
1. Locate test data.
Go to the deployment folder, go inside the Acquirer instance(ACQ_client), and then inside folder test_data (E.g. C:/neaPaySimulator/ACQ_client).
2. Open test configuration.
Open Excel file ISO8583_TestCases_v3.5.xlsm.
3. Edit Acquirer test cases.
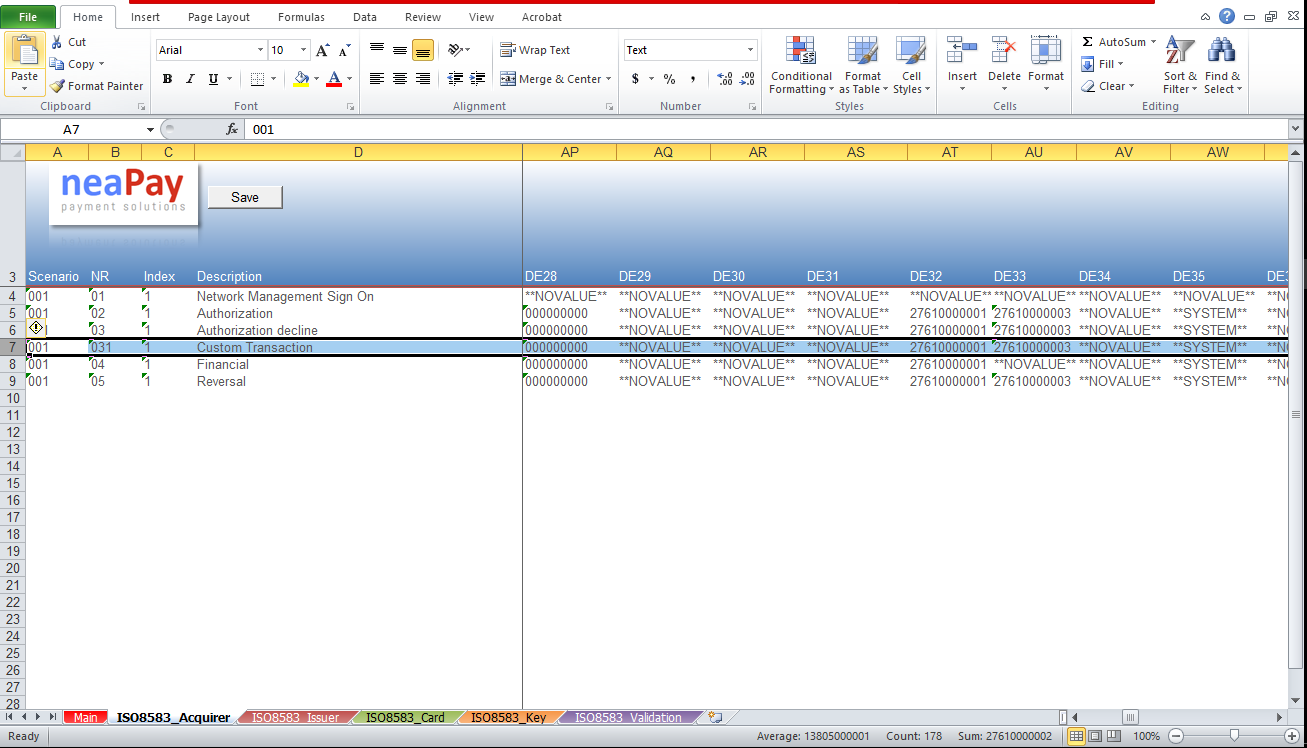
Go to sheet ISO8583_Acquirer. We will refer to this as the Acquirer Sheet from now on. This defines the Acquirer test cases.
4. Duplicate an existing transaction.
Copy a line (select line, Ctrl c) and insert it below (Ctrl +). You now have two identical lines. We will edit the second one.
5. Change the amount
Edit column R to change the Amount to 1000 in field DE04 (Data Element 04)
6. Edit test number
Change column B to a number that is not already present in the other values on column R. We ususally increment the number.
The pair Scenario+NR (columns A+B) must be unique, this is how the simulator searches the transactions.
7. Edit Description
Edit Column D, Description and append or replace it with some text of your choosing (e.g Custom Transaction).
8. Save CSV
Press the "Save Test Data CSV" button inside the sheet, next to the neaPay logo.
It will ask you about saving and overwriting "ISO8583_Acquirer.csv"
Answer Yes.
Then it will ask about saving and overwriting "ISO8583_TestCases_v3.5.xlsm"
Answer Yes.
9. Restart
Close the Excel file (optional). Close the Acquirer simulator. The server can keep running.
Open and Start again the Acquirer simulator, check that it has connected to the server again.
10. Check updated Test cases list
When the Transactions List window opens, check that your new transaction is available in the list.
11. Run your new test case
Select your configured transaction and click the Send button.
12. Check test results
Check the Acquirer Console for the text Test case: and check that after that, the description you entered earlier is present.
Congratulations! You have successfully configured your first transaction!
Thank you for following this article! Please leave us a note below if something is wrong or unclear, we will review and change it asap!