Why manual regression is the bottleneck in payment systems delivery
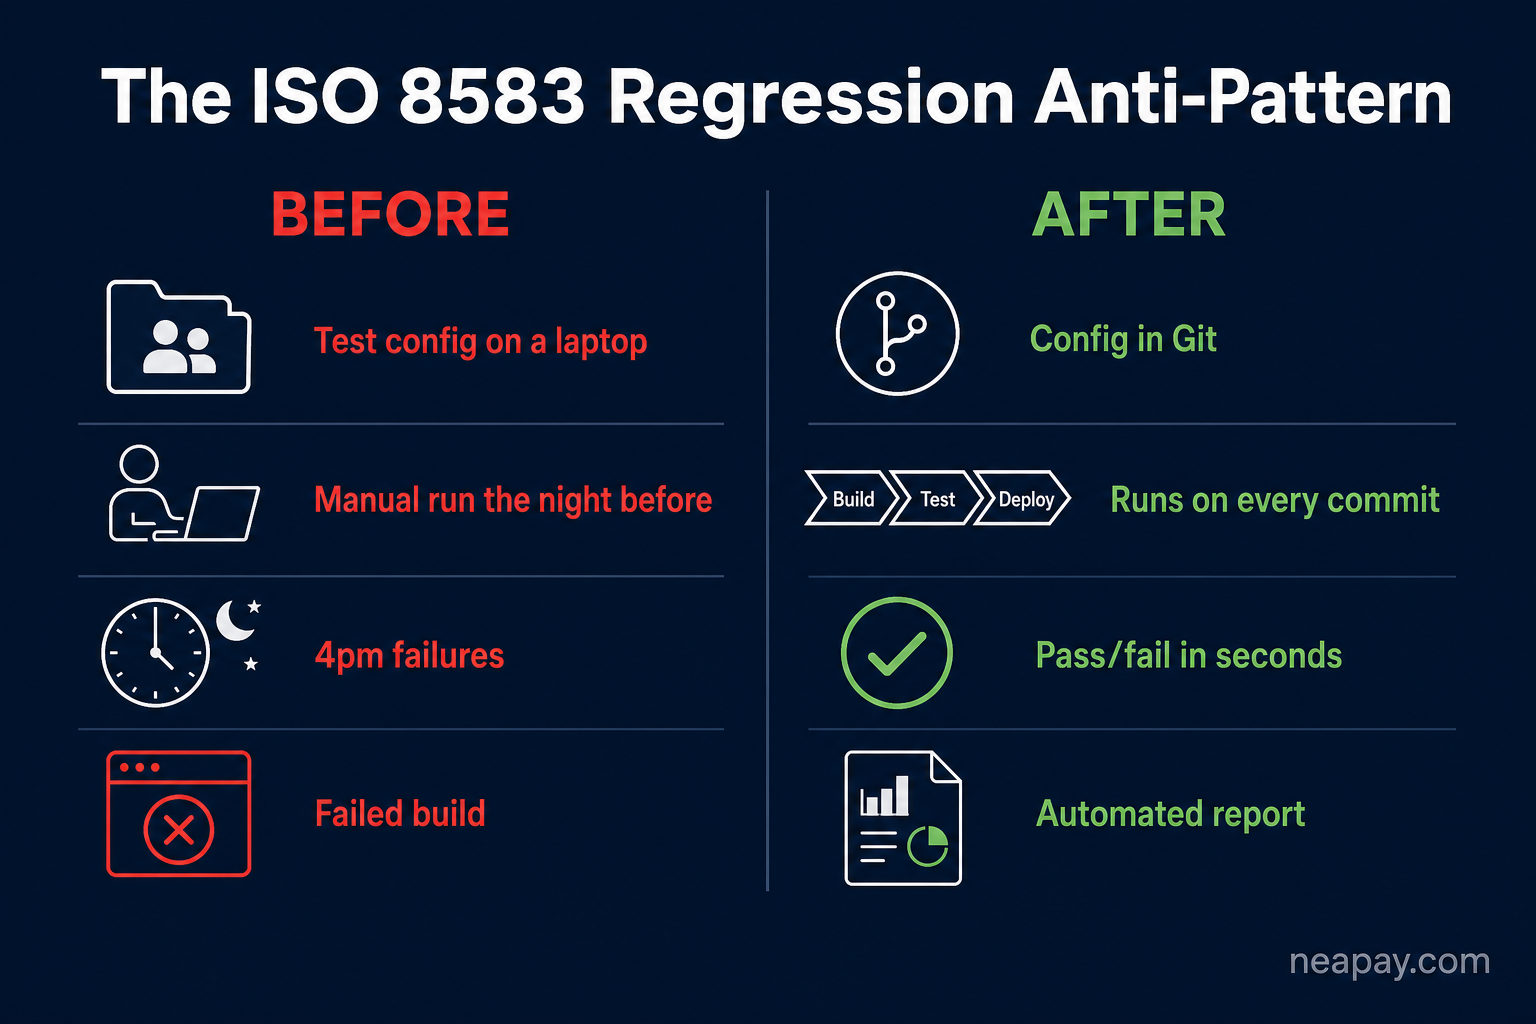
In most payment engineering teams, regression testing is still a manual event. Someone triggers a test run the day before a UAT window, finds three failures at 4pm, and the release either slips or ships with known risk. The simulator was set up months ago, the test data lives on one engineer's laptop, and nobody is quite sure whether today's run is using the same configuration as last month's.
The fix is not a bigger team or a longer test window. It is treating payment test configuration the same way you treat application code: version-controlled, environment-portable, and triggered automatically on every meaningful commit.
This article walks through the principles and setup for automating ISO 8583 regression testing inside a CI/CD pipeline, using neaPay's ISO 8583 simulator as the execution engine.
What you need before you automate
Automation amplifies whatever is already in your test suite. Before wiring anything into a pipeline, three things need to be true:
- Test data is in version control. Transaction definitions, card data, terminal configuration, and expected response validations must live in Git — not in a shared folder, not on someone's machine. neaPay's simulator stores all of this in Excel/JSON files that commit cleanly.
- The simulator runs headless. A GUI-only tool cannot run in a pipeline. neaPay's simulator supports headless (no-UI) execution via command line, which is the prerequisite for any CI/CD integration.
- Pass/fail is machine-readable. The pipeline needs to know whether the test suite passed. neaPay generates structured HTML/XML reports and returns a non-zero exit code on failure — the standard contract that every CI/CD system expects.
Pipeline architecture for ISO 8583 regression
The general pattern works the same across Azure Pipelines, AWS CodeBuild, Bitbucket Pipelines, and GitHub Actions. The stages are:
- Checkout — the pipeline pulls your application code and your simulator configuration from the same (or a linked) repository.
- Environment setup — Java is installed (or cached from a previous run). The simulator package is unpacked. No installer, no license wizard — just unzip and run.
- Start the system under test — if your test environment needs to be stood up (e.g., a containerised authorization host), this stage brings it online and waits for a health check.
- Run regression — the simulator is invoked in headless mode, pointed at the target system, executing the full regression pack. The command line passes the configuration path, target IP/port, and report output directory.
- Publish results — the HTML/XML report is archived as a pipeline artefact. Failures cause the stage to exit non-zero, blocking merge or deployment.
- Teardown — test environment containers are stopped.
Azure Pipelines example
A minimal azure-pipelines.yml stage for ISO 8583 regression looks like this:
- stage: Regression
  jobs:
  - job: ISO8583Regression
    pool:
      vmImage: 'ubuntu-latest'
    steps:
    - checkout: self

    - task: JavaToolInstaller@0
      inputs:
        versionSpec: '17'
        jdkArchitectureOption: 'x64'
        jdkSourceOption: 'PreInstalled'

    - script: |
        unzip simulator.zip -d simulator
        cd simulator
        java -jar neapay-simulator.jar \
          --config config/visa-acquirer.json \
          --regression regression/visa-full.xlsx \
          --host $(TARGET_HOST) \
          --port $(TARGET_PORT) \
          --headless \
          --report reports/
      displayName: 'Run ISO8583 Visa regression'

    - task: PublishTestResults@2
      inputs:
        testResultsFormat: 'JUnit'
        testResultsFiles: 'simulator/reports/*.xml'
The $(TARGET_HOST) and $(TARGET_PORT) are pipeline variables — the same configuration file works across dev, test, and pre-production environments by changing only the variable values.
Isolating environments: the biggest mistake teams make
The most common failure in payment CI/CD is shared test environments. Two pipelines hit the same authorization host simultaneously; one sees unexpected decline responses; the run is marked as failed; the team ignores the failure because "it always does that." The regression becomes noise.
The correct pattern is one simulator instance per pipeline run, pointing at a dedicated test environment that is stood up and torn down with each run. Containers make this straightforward. neaPay's simulator runs inside a Docker container without modification — add it to your docker-compose.yml alongside your authorization host and both start and stop together.
Performance regression in the pipeline
Functional regression (does the system respond correctly?) and performance regression (does it respond fast enough?) are separate concerns that belong in different pipeline stages.
Performance regression runs less frequently — typically nightly or on release branches rather than on every commit — because it takes longer and requires a dedicated environment with predictable hardware. The setup is identical to functional regression, but the simulator is invoked in load test mode with a target TPS and duration rather than a transaction-by-transaction pass/fail mode.
The pipeline archives the throughput report as an artefact. A downstream job compares it against the established baseline and fails the build if throughput drops more than a defined threshold (e.g., 10% below the last accepted release).
What this looks like after six months
Teams that implement this pattern consistently report the same experience: regression stops being an event and becomes infrastructure. Failures are caught within minutes of a commit, at the development stage where they are cheapest to fix. The test suite grows incrementally — each new feature adds its test cases to the regression pack, and those cases run automatically from that point forward.
The certification window, which previously required several days of manual test execution, becomes a formality: by the time the window opens, hundreds of automated runs have already validated the system against the scheme's test cases.
Related: neaPay ISO 8583 Simulator — commercial version with CICD integration | Build vs Buy — 5-year TCO calculator
